Skill Level and Risk Assessment
Intermediate skill level applies to this project. The risk remains low provided that proper surface preparation occurs.
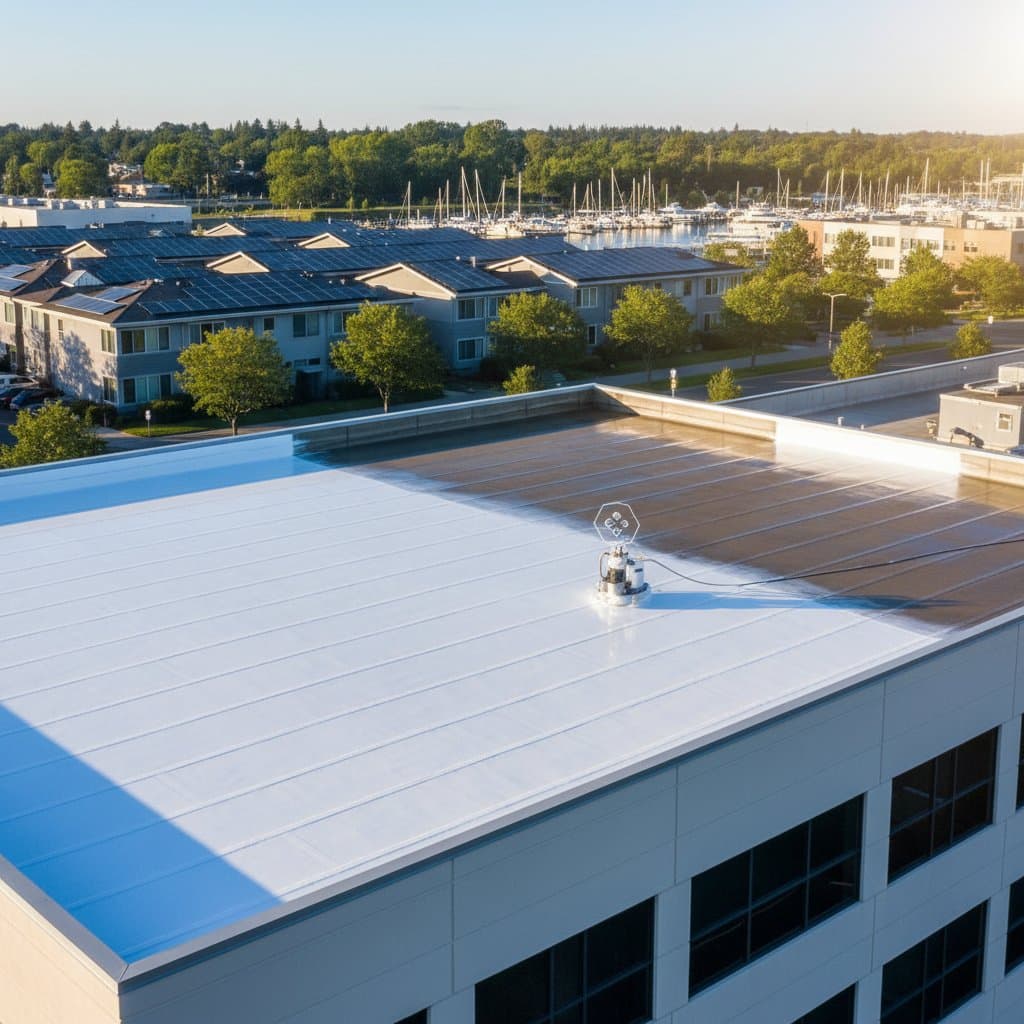
Understanding Lithium Roof Coatings
Lithium roof coatings represent an advanced solution for extending roof life. These coatings form a robust, flexible barrier that withstands environmental stresses such as ultraviolet radiation, thermal expansion, and moisture infiltration. Property owners benefit from reduced repair frequency and lower overall costs over time.
The technology relies on lithium compounds that create dense chemical bonds with roof substrates. This results in a surface that resists cracking, peeling, and degradation for up to two decades. Suitable for metal, concrete, and membrane roofs, these coatings adapt to various climates, from coastal salt exposure to inland UV intensity.
Leveraging Incentives for Adoption
Energy-efficient upgrades like lithium coatings often qualify for rebates from utilities or insurance providers. Early application maximizes these benefits, while documentation supports future negotiations if incentives prove unavailable initially.
Decision Guideline
Pursue incentives when upgrades align with energy savings or durability standards. In the absence of programs, maintain detailed performance records to advocate for improved terms.
Step-by-Step Process
-
Research Options. Review local building efficiency initiatives and green certification programs.
-
Submit Documentation. Provide manufacturer data sheets highlighting solar reflectance and emissivity ratings.
-
Secure Approval. Obtain written verification prior to commencing any work.
-
Handle Setbacks. Retain receipts and energy usage records for submission in subsequent cycles.
Avoiding Pitfalls
A frequent error involves neglecting pre-installation paperwork. Numerous programs mandate prior approval. Complete all required forms before applying the coating.
Preparing the Property for Optimal Adhesion
Effective preparation ensures the coating bonds securely to the roof surface. This step prevents failures that could compromise the 20-year lifespan.
Decision Guideline
Conduct adhesion tests on the substrate. Strip existing coatings if tests indicate poor bonding; otherwise, proceed with cleaning and priming.
Step-by-Step Process
-
Assemble Materials. Select cleaning agents suitable for roofing membranes.
-
Clean Thoroughly. Eliminate chalky residues using a pressure washer, followed by complete drying.
-
Test Adhesion. Execute a tape pull test on a test patch.
-
Address Issues. Apply a compatible primer if the test fails before full application.
Avoiding Pitfalls
Coating over damp surfaces undermines the chemical bond. Ensure surface moisture falls below specified thresholds before proceeding.
Positioning for Neighborhood and Site Value
Highlighting the advantages of lithium coatings enhances property appeal during sales or leases. Tailor emphasis based on buyer priorities, such as durability or visual appeal.
Decision Guideline
Emphasize reduced maintenance and longevity for value-driven buyers. Combine with aesthetic topcoats if appearance takes precedence.
Step-by-Step Process
-
Compile Evidence. Collect performance specifications and warranty details.
-
Integrate into Materials. Incorporate energy savings and maintenance schedules into listing documents.
-
Validate Claims. Cross-reference statements with local testing or laboratory results.
-
Adapt Strategy. Shift focus to endurance and eco-friendly aspects if verification falters.
Avoiding Pitfalls
Exaggerating energy benefits without supporting evidence erodes credibility. Anchor all assertions in documented tests. As one property assessor noted, "Durability resonates when backed by photographs and maintenance records."
Incorporating Sustainability Practices
Lithium coatings support environmental objectives through low emissions and efficient application methods. Selecting certified products amplifies these gains.
Decision Guideline
Opt for formulations with minimal volatile organic compounds and recyclable packaging. Utilize offset programs if ideal options lack availability.
Step-by-Step Process
-
Review Certifications. Obtain safety data sheets and environmental compliance documents.
-
Apply Efficiently. Employ low-waste rolling techniques during installation.
-
Monitor Curing. Verify data to ensure limited off-gassing occurs.
-
Correct Shortcomings. Enhance ventilation and use thinner layers for reapplication if needed.
Avoiding Pitfalls
Excessive product application per layer prolongs curing and increases emissions. Adhere strictly to recommended spread rates.
Enhancing Digital Listings for Commercial Properties
Compelling online presentations showcase the coating's value. Accurate metrics build trust with potential investors or tenants.
Decision Guideline
Feature quantifiable performance data in advertisements. Substitute with maintenance logs if laboratory results remain unavailable.
Step-by-Step Process
-
Capture Visuals. Photograph cleaned, coated, and fully cured sections.
-
Draft Descriptions. Outline warranty duration, reflectivity, and endurance in concise bullet points.
-
Align with Sources. Confirm content consistency with manufacturer guidelines.
-
Refine as Needed. Eliminate unsubstantiated details and emphasize service life projections.
Avoiding Pitfalls
Generic imagery fails to convey quality. Incorporate high-resolution shots displaying the coating's texture and finish.
Managing Timing and Logistics
Optimal conditions during application guarantee uniform coverage and full curing. Strategic planning accommodates weather variability.
Decision Guideline
Schedule work during dry, moderate weather for complete sections. Segment the roof into zones for application in uncertain conditions.
Step-by-Step Process
-
Plan Layout. Designate zones and establish daily application boundaries.
-
Execute Application. Spread coating uniformly while preserving wet edges.
-
Inspect Progress. Examine each cured zone prior to advancing.
-
Remediate Errors. Lightly sand and recoat any uneven joints.
Avoiding Pitfalls
Insufficient curing time prevents proper crosslinking, diminishing durability. Allow each layer to fully set.
Tailoring to Local Conditions
Regional factors influence coating performance. Coastal areas demand enhanced edge sealing against salt spray, while inland dry zones prioritize UV-reflective finishes. Cold climates require flexible variants to handle expansion and contraction.
Verify formulation approval for specific zones. Metal roofs necessitate higher elasticity due to movement, whereas flat concrete surfaces benefit from moisture-resistant primers. Seasonal timing avoids extremes that hinder curing.
Professional versus DIY Application
Engage professionals for expansive or intricate roofs, as they possess specialized spray systems, safety equipment, and testing instruments. DIY suits smaller structures like garages or sheds under 300 square feet, provided no issues such as ponding or cracks exist.
Consult a licensed roofer for assessments of bond strength and moisture levels. Professional intervention proves essential for penetrations involving electrical or HVAC systems to preserve warranty integrity.
Execution Checklist
-
Examine the roof for leaks, rust, and cracks.
-
Clean with detergent and rinse completely.
-
Allow full drying prior to coating.
-
Conduct an adhesion test on a sample area.
-
Apply primer where required.
-
Mix coating to prevent air entrapment.
-
Spread the initial coat evenly and gauge thickness.
-
Permit complete curing.
-
Add the second coat at a right angle to the first.
-
Check for gaps or imperfections.
-
Document application date, weather, and measurements for warranty purposes.
-
Arrange yearly inspections and gentle cleaning.
Sequential adherence to these steps secures the projected 20-year performance.
Frequently Asked Questions
How does a coating achieve 20 years of service?
Lithium compounds establish resilient chemical links with roof materials, yielding a protective layer impervious to UV and moisture breakdown.
Are lithium coatings suitable for roofs collecting drinking water?
Yes, formulations typically feature low volatile compounds. Confirm potable water certification prior to selection.
What if an existing coating covers the roof?
Initiate with an adhesion test. Proceed directly if bonding succeeds; remove prior layers otherwise.
Does the coating color influence durability?
Indeed, lighter shades deflect sunlight, alleviating thermal strain and extending lifespan. Darker options absorb heat, potentially accelerating wear.
Realizing Long-Term Protection
Lithium coatings integrate stability, adaptability, and UV defense into a comprehensive shield. A methodical approach to preparation, testing, and application under ideal conditions unlocks superior longevity compared to conventional options. Owners gain from diminished upkeep, reduced waste, and enhanced asset value across diverse settings.