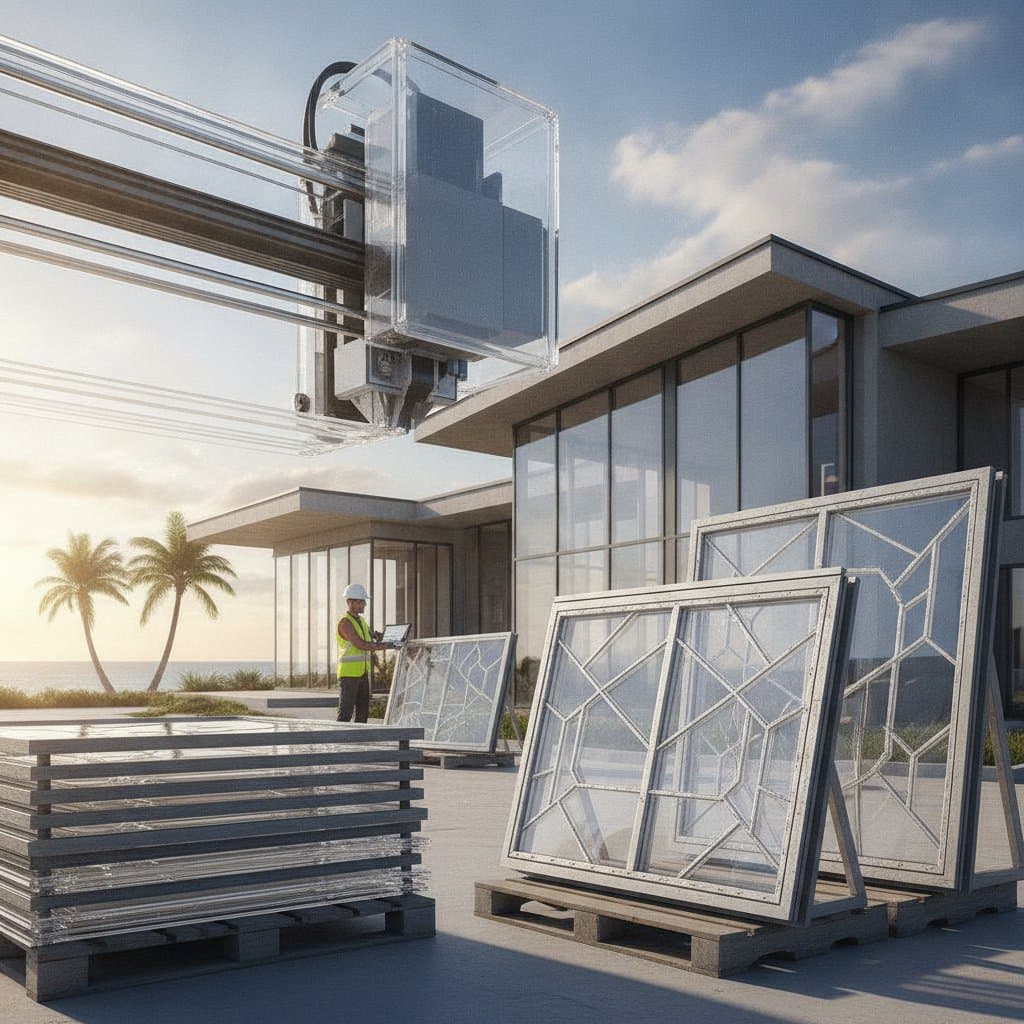
How 3D Printing Transforms Impact Window Production
Three dimensional printing now delivers impact windows at substantially lower cost while maintaining full structural performance. Manufacturers achieve these savings through reduced material waste and streamlined fabrication that supports custom sizes without traditional tooling expenses. Homeowners in storm prone areas gain access to certified protection that fits specific openings and architectural requirements.
Installation Sequence
Confirm that all printed frames and glazing arrive on site before any demolition begins. Remove and replace windows one room or elevation at a time so interior spaces remain protected from weather. Apply structural sealants and fasteners to each opening and complete inspection before advancing to the next unit.
Crews that open multiple windows simultaneously risk water intrusion and loss of climate control. Staggered removal prevents these issues and keeps daily disruption to a minimum.
Regional Requirements
Building codes vary by location. Coastal jurisdictions demand missile impact ratings and corrosion resistant hardware. Inland areas may accept pressure only certification. Consult the local building department early to confirm which standards apply.
Cold temperatures slow adhesive cure times, so schedule work during milder periods. Humid climates require indoor storage of printed components until installation to avoid moisture absorption. Historic districts often impose finish and color restrictions that must be verified before ordering.
Contractor or Owner Installation
Impact rated units require precise fastening patterns and structural glazing techniques. Licensed contractors possess the torque tools and rated sealants needed for code compliance. Homeowners should engage professionals whenever more than one opening is involved or when the property lies in a high wind zone.
Small outbuildings may be suitable for careful do it yourself work provided every manufacturer specification is followed exactly. Integrated sensors or blinds require a qualified technician for proper connection.
Preparation Checklist
- Identify three or more suppliers that offer certified printed impact products.
- Collect test reports for both impact and pressure performance.
- Assess existing frames to determine full replacement or retrofit suitability.
- Compare complete installed pricing from multiple sources.
- Plan work during mild weather to support proper sealant curing.
- Order test units for any nonstandard openings.
- Complete one elevation before starting the next.
- Inspect every fastener and seal before proceeding.
- Retain all warranty documents and certificates for insurance and future sale.
- Review performance after the first significant wind event.
Each verification step protects the integrity of the preceding work. Maintain organized records for any insurance claim or property transfer.
Frequently Asked Questions
Are printed impact windows suitable for coastal storms? Yes, provided they carry the same certification labels as conventional products. Confirm both pressure and debris impact ratings before purchase.
What is the expected service life? Manufacturers project twenty to thirty years of performance under normal conditions. Request accelerated weathering data to compare specific formulations.
Can printed frames be painted or coated? Only with finishes approved for the base polymer. Certain coatings enhance ultraviolet resistance while others may compromise surface adhesion.
Do printed windows differ visually from traditional units? Modern printers produce smooth finishes comparable to molded materials. Color and gloss are selected during production to match surrounding elements.
Securing Certified Protection
Obtain documentation from approved suppliers and schedule installation with a licensed contractor familiar with printed systems. Verify every opening after completion and retain all certificates for long term ownership benefits.